The year is 2021 and it’s officially time to start making your own hummus from scratch. There! I said it!
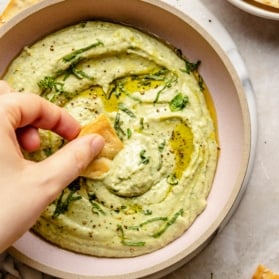
Trust me when I say homemade hummus is 1000x better than any store-bought kind you’ll ever have, and this homemade roasted garlic hummus recipe is seriously one of the BEST I’ve ever had. If you’ve never roasted garlic before, have no fear — I’ve included all of the instructions and tips you’ll need for making perfectly roasted garlic and blending it into this dreamy, creamy roasted garlic hummus.
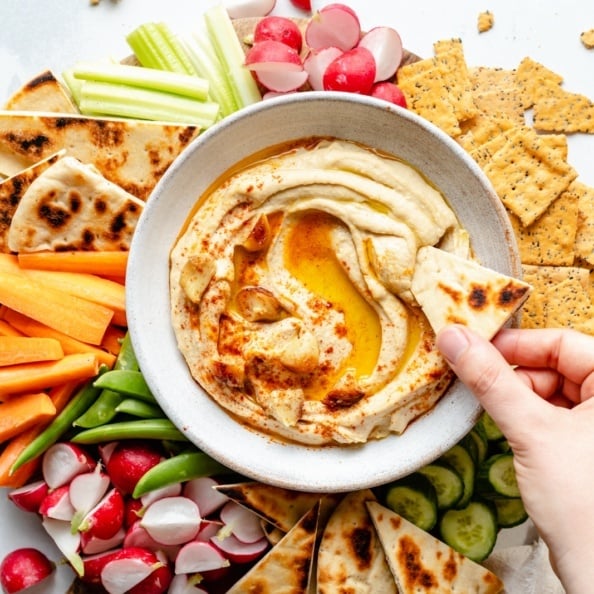
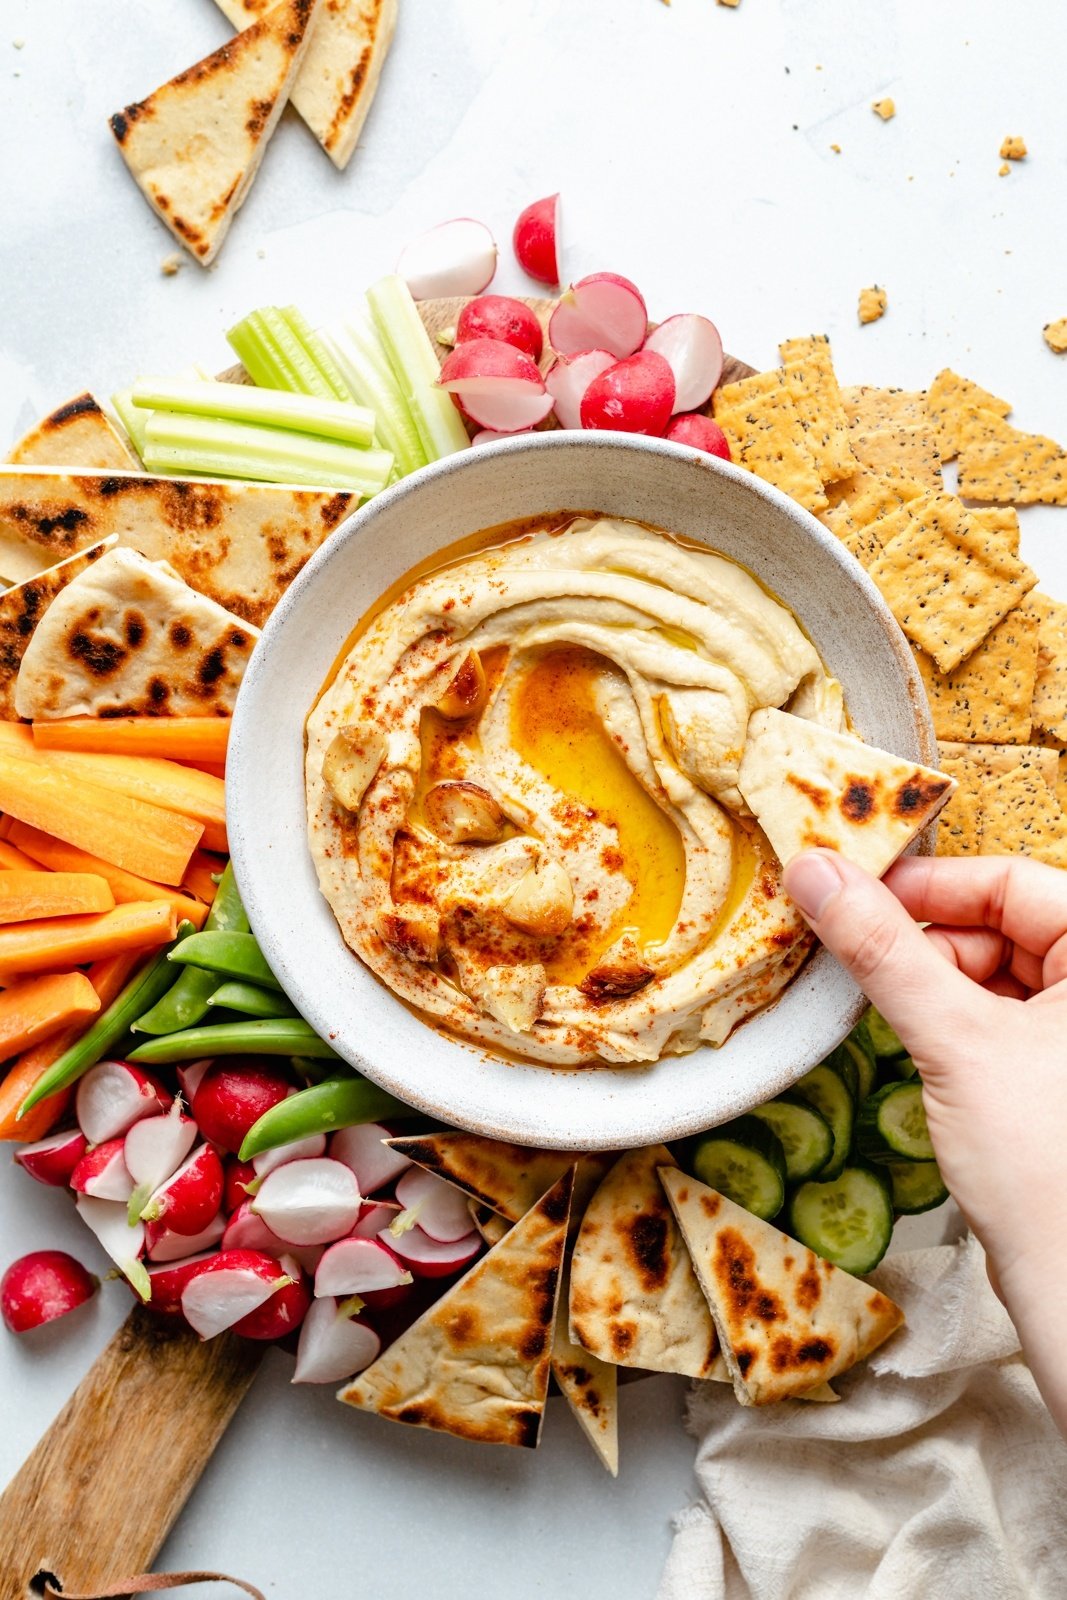
Use this incredible hummus on your next girl’s night charcuterie board, spread it on your fav sandwiches and wraps, and okay, maybe enjoy a few spoonfuls by themselves.

Your fav hummus with a flavor makeover
You know our original, super creamy and delicious hummus recipe? Well, we took that perfect base and kicked up the flavor with a whole head of roasted garlic. YES PLEASE. The result is roasted garlic hummus that’s equally as creamy as our OG recipe but with a little more sweet and savory garlicky flavor.

How to roast a whole head of garlic
I know adding an entire bulb or head of garlic to one recipe may seem like a lot, but roasting it actually makes the flavor much milder and even a little sweet and caramelized. You can even spread it plain on toast! Here’s how to roast a head of garlic for this garlic hummus recipe:
- Prep the garlic. Preheat the oven to 400º degrees F. Cut off ¼-½” from the top, or the “stem” end, of a garlic bulb (i.e. not the root) and place it on a piece of tin foil. Drizzle the garlic with a tablespoon of olive oil, then close the tin foil around it.
- Roast it up. Place the foil-wrapped garlic bulb on a small baking sheet and roast for 60 minutes or until the garlic cloves are soft and lightly golden in color.
- Cool & enjoy. Let the garlic cool completely, then squeeze the garlic cloves out of the skin and into the hummus!

Everything you’ll need to make roasted garlic hummus
Besides garlic (of course) you’ll just need a few more simple ingredients to make this homemade roasted garlic hummus recipe:
- Chickpeas: one of the key ingredients in hummus is cooked chickpeas or garbanzo beans. I keep it simple by just using a can of chickpeas! Save some of the liquid in the can as well.
- Tahini: earthy, creamy tahini helps to give hummus flavor and texture. Tahini is just a paste made from sesame seeds, so it keeps hummus nut free.
- Lemon juice: fresh lemon juice helps to brighten up the flavor of your hummus.
- Salt: every good dip needs a pinch of salt!
- Garlic: the queen of this roasted garlic hummus! You’ll blend in that whole roasted head of garlic.
- Olive oil: you’ll also need a little olive oil for drizzling onto the garlic bulb before roasting it.
- Optional: if you want super creamy hummus you’ll also need a little baking soda — more on this below.

The #1 secret for smooth, creamy hummus
You know how hummus at restaurants is somehow 10x better than store-bought hummus? That’s because not only are they using super fresh ingredients to make the hummus from scratch, but they’re likely also removing the skins from the chickpeas. Get that ultra creamy texture in this roasted garlic hummus recipe by removing the skins:
- Drain the chickpeas. Start by draining your can of chickpeas and reserving the liquid in a bowl. Rinse the drained chickpeas and dump them into a different, microwave safe bowl.
- Add baking soda. It might sound strange, but you’ll then toss the drained, rinsed chickpeas with 1 1/2 teaspoons of baking soda!
- Heat them up. Once your chickpeas are coated with baking soda, microwave the whole bowl for 90 seconds.
- Cool off & remove skins. Finally, pour the hot chickpeas into a large bowl and cover them with cool water. Gently rub the skins off of the chickpeas using your hands and drain off the water that has the skins in it. Repeat until all of the chickpeas have been skinned. This might take 4-5 changes of cool water. Then, follow the instructions as written!


How to make roasted garlic hummus from scratch
Ready for a flavorful, delicious hummus you’ll want to eat straight from the bowl? Let’s make some roasted garlic hummus:
- Roast the garlic. Remember to first roast that whole head of garlic per the instructions above. Let it cool while you prep everything else!
- Skins or no skins. Decide whether you’d like to remove the skins from your chickpeas using the method above or leave them as-is. Once your chickpeas are ready, add them to the bowl of a food processor or a blender.
- Add the rest of the ingredients. Next, add some chickpea liquid from the can, tahini, lemon juice and salt. Squeeze the garlic cloves from the skin of the garlic right into the food processor.
- Blend it up. Pulse or blend the ingredients for about 60 seconds or until everything is completely smooth. If anything is getting stuck or appears too thick, simply add more chickpea liquid 2 tablespoons at a time.
- Taste, adjust & serve. Once the hummus is nice and smooth and creamy, taste it and add more seasonings if you’d like. Then serve and enjoy!

Store your homemade garlic hummus
Keep that fresh batch of roasted garlic hummus in an airtight container in the refrigerator for up to 5 days.
Delicious ways to eat roasted garlic hummus
- It’s the perfect dip for fresh veggies, crackers (like these paleo ones), sliced pita bread or naan, pretzels and more.
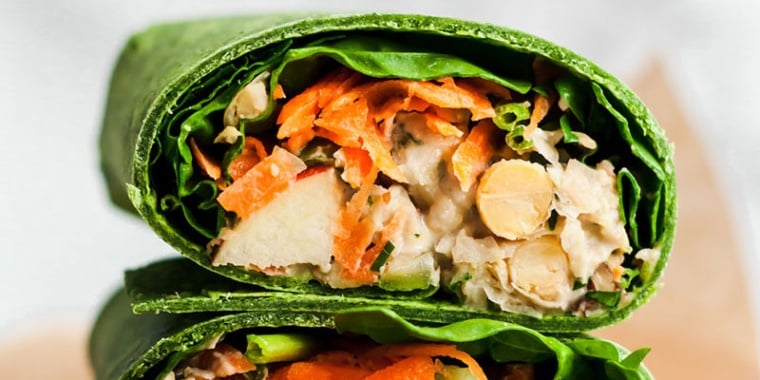
- Use it as a spread for your favorite sandwiches and wraps! Spread a little in these chickpea salad collard wraps or use it in these greek salad pinwheels.
- Mix it with a little bit of warm water and toss it with warm pasta for an easy, garlicky pasta sauce! Use this method for an easy salad dressing, too.
- Add some to a veggie-packed grain bowl or thin it out a bit and drizzle roasted veggies.

More flavorful hummus recipes you’ll love
- Roasted Beet Hummus
- Sweet and Spicy Curry Hummus
- Cilantro Pistachio Pesto Hummus
- Roasted Sweet Potato Hummus
Get all of our dip recipes here, and more tips & tricks for making the best homemade hummus here!
I hope you love this easy roasted garlic hummus recipe! If you make it be sure to leave a comment and a rating so I know how you liked it. Enjoy, xo!

Ambitious Kitchen
Cookbook
125 Ridiculously Good For You, Sometimes Indulgent, and Absolutely Never Boring Recipes for Every Meal of the Day

Ingredients
- 1 garlic bulb
- 1 tablespoon olive oil
- 1 15 oz can chickpeas, drained but with the liquid reserved
- 1 1/2 teaspoons baking soda (if removing the chickpea skins -- see below for instructions)
- 1/4 cup tahini
- Juice from 1/2 lemon (about 2 tablespoons)
- 1/2 teaspoon salt
Instructions
- Preheat the oven to 400º degrees F. Cut off ¼-½” from the top of a garlic bulb (i.e. the stem, not the root) and place it on a piece of tin foil.
- Drizzle the garlic with a tablespoon of olive oil, then close the tin foil around it.
- Place the foil wrapped garlic bulb on a small sheet tray and roast for 60 minutes or until the garlic cloves are soft and lightly golden in color.
- While the garlic is roasting, drain the chickpeas over a colander, reserving the liquid in a bowl. Skip to step 8 if not removing the skins from the chickpeas.
- To remove the skins for creamier hummus: rinse the chickpeas and add them to a small microwave-safe bowl.
- Toss the chickpeas in 1 ½ tsp. baking soda and microwave them for 90 seconds.
- Pour the hot chickpeas into a large bowl and cover with cool water. Gently rub the chickpeas between your hands to remove the skins. Drain off the water with the skins, and repeat the process until all the skins have been removed. It may take 4-5 changes of water.
- Add the chickpeas (with skins on or off), ¼ cup of chickpea liquid from the can, and all other ingredients to a food processor or blender. Squeeze the cooled, roasted garlic cloves out of the skin and into the food processor and blend until completely smooth, about 60 seconds. If things aren’t moving around very well, you can add 2 extra tbsp. at a time of the chickpea liquid.
- Taste and adjust seasoning if necessary. Serve with crackers, chips, veggies, or as a sandwich spread.
Recipe Notes
Nutrition
Recipe by: Monique Volz // Ambitious Kitchen | Photography by: Eat Love Eats







2 comments
I’ve only made hummus a few times before and usually I just throw everything in the food processor and call it a day. I was feeling ambitious (pun intended) and decided to go the extra mile removing the skins. While I was doing it, it felt like a lot of work and I told myself – there’s no way this is worth it. After completing the finished product, I can tell you those extra steps are TOTALLY WORTH IT. I cannot believe how good this hummus is. Restaurant quality (or even better!)
Oh I’m so glad that it was worth it!! I totally agree. Thanks for leaving a review, Jena!