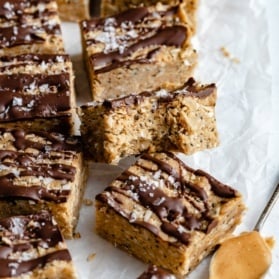
Sometimes you just need a quick, easy treat during busy seasons of life. How about something a little crispy, perfectly sweet, chocolate-y, and even with a sneaky boost of protein?
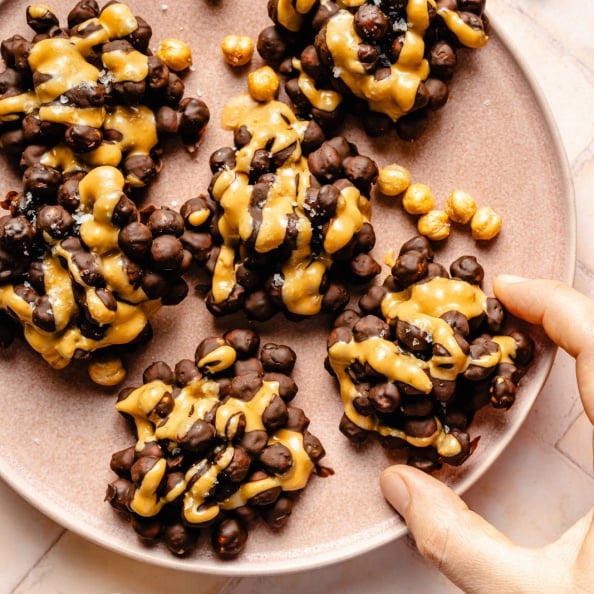
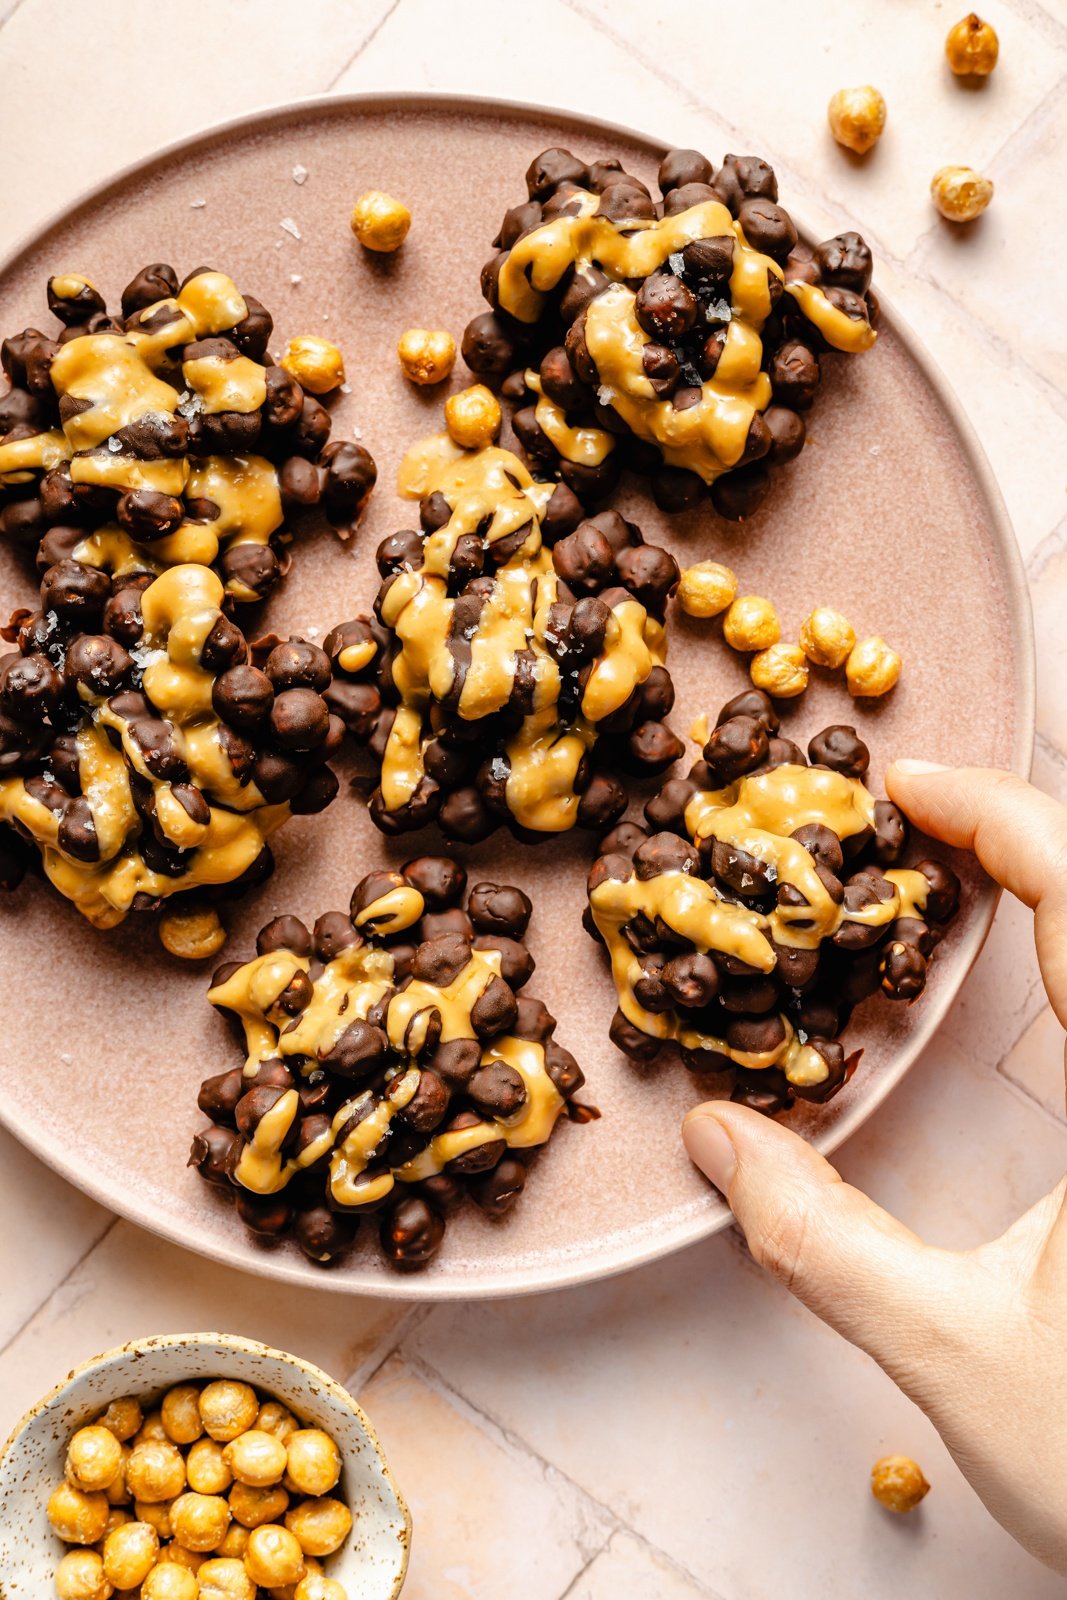
These crispy chickpea chocolate clusters are literally made with TWO ingredients (plus more if you want to jazz them up) and are the best simple treat or snack to keep in your freezer. They’re fun to make with kiddos, and each have 7g of protein from the chickpeas for a crispy dessert or snack everyone will feel good about.

The 2 ingredients you’ll need for chickpea chocolate clusters
When I say 2 ingredients I truly mean it! Of course, I’ve added different ways you can customize them below as well. Here’s what you’ll need:
- Roasted chickpeas: we’re not using chickpeas from the can, instead we’re using a bag of sea salt roasted chickpeas. You can typically find these in the snack aisle of the grocery store. I love the Biena Snacks brand!
- Chocolate: you’ll be melting some dark chocolate to toss and chill with the chickpeas to hold them together for the perfect no bake treat.

Can I use canned chickpeas?
Sure! You’ll just have to:
- Drain them
- Pat them dry
- Toss them with a little olive oil and sea salt
- And roast them in the oven at 425 degrees F for about 20-30 minutes until they’re nice and crunchy

Customize your chocolate covered chickpeas
Yes, there are some fun ways you can really make these your own!
- Add nut butter: I LOVE drizzling peanut butter on the clusters before chilling them in the freezer. Any kind of nut butter would be delicious!
- Choose your chocolate: feel free to experiment with melting different types of chocolate — white chocolate, milk, or even a flavored chocolate bar would all be delicious.
- Try fun mix-ins: add a little peppermint extract for a mint chocolate twist, or even add dried fruit like dried cranberries, cherries, or blueberries.

Keep them vegan & dairy-free
Just be sure to use a vegan and dairy-free chocolate bar or chocolate chips for these chocolate chickpeas.

Easy chickpea chocolate clusters in 2 steps
- Mix the chocolate & chickpeas. Pour the roasted chickpeas into a bowl, melt your chocolate, and pour it over the chickpeas. Carefully stir so that the chocolate covers the chickpeas.
- Assemble, chill & enjoy. Scoop large spoonfuls of the chocolate covered chickpeas onto a baking sheet lined with parchment paper. Drizzle with peanut butter if you’d like, then freeze for 30 minutes before enjoying!

How to store these chocolate chickpea clusters
Leftover clusters can be stored in a container or zip-top bag in the freezer for a few weeks. Enjoy straight from the freezer whenever you need a sweet treat!
More no bake desserts
- No Bake Superfood Brownies
- Sweet and Salty Chocolate Tahini Rice Krispie Treats
- Healthy 4 Ingredient Reese’s Eggs
- No Bake High Protein Peanut Butter Cereal Bars
- Crispy Toasted Quinoa Chocolate Peanut Butter Truffles
Get all of my no bake desserts here!
I hope you love these crispy chickpea chocolate clusters! If you make them be sure to leave a comment and a rating so I know how you liked them. Enjoy, xo!

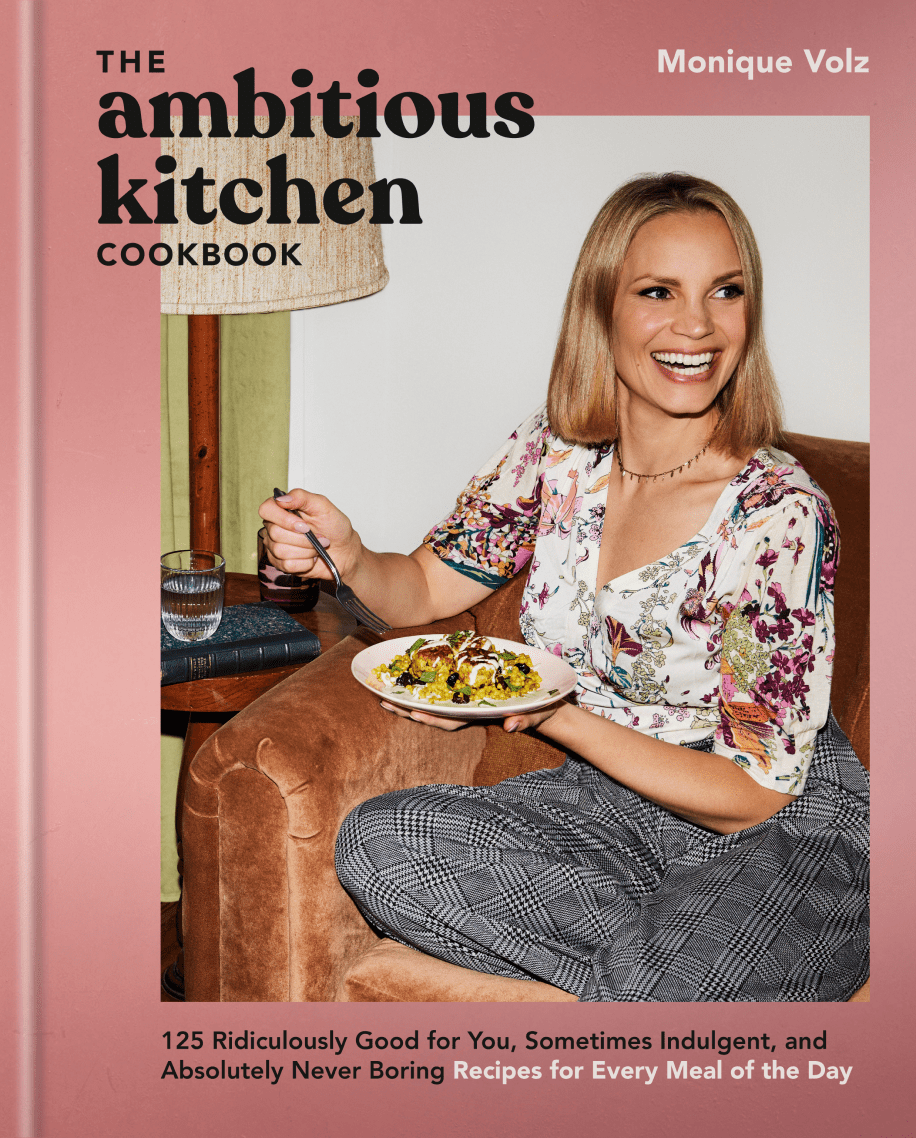
Ambitious Kitchen
Cookbook
125 Ridiculously Good For You, Sometimes Indulgent, and Absolutely Never Boring Recipes for Every Meal of the Day
Crispy Chickpea Chocolate Clusters

Ingredients
- 1 (5 ounce) bag sea salt roasted chickpeas (about 1 ⅓ cups)
- 3 ounces dark chocolate
- Creamy peanut butter, optional
Instructions
- Pour one 5-ounce bag (1 ⅓ cups) of sea salt roasted chickpeas (I love Biena Snacks!) into a bowl. Melt 3 ounces of dark chocolate and pour it over the chickpeas. Stir thoroughly so the chocolate fully coats the chickpeas.
- Line a large plate with parchment paper and dollop big spoonfuls of the chocolate-covered chickpeas on the parchment. Drizzle drippy peanut butter (I love Trader Joe's brand) on each cluster and freeze for 30 minutes to harden the chocolate.
- Remove and enjoy one cluster from the freezer at a time so they don't melt! Leftover clusters can be stored in a container or zip-top bag in the freezer for a few weeks.
Recipe Notes
Nutrition
Recipe by: Monique Volz // Ambitious Kitchen | Photography by: Eat Love Eats
